
How Coffee Inspired Art and Literature Around the World
Getting a great cup of coffee starts with consistency, and nothing affects your brew more than grind size.
Whether you’re using a French press, pour-over, AeroPress, or espresso machine, having the right grind size is essential—and achieving that consistency depends on a properly calibrated grinder.
In this comprehensive guide, we’ll walk you through everything you need to know about calibrating your coffee grinder for reliable, flavorful results every time.
Calibrating your grinder is the process of adjusting the burrs to achieve the right particle size for your brewing method.
A misaligned or poorly calibrated grinder can result in uneven grind sizes, which leads to under-extraction (sour, weak coffee) or over-extraction (bitter, harsh flavors).
Consistency is especially crucial if you’re dialing in for espresso or using pour-over methods. Even small variations in grind size can alter the taste and balance of your cup.
That’s why baristas and home brewers alike consider grinder calibration a foundational skill in coffee preparation.
Grind size determines how quickly water passes through the coffee bed. Finer grinds increase extraction time, while coarser grinds decrease it. Different brewing methods require different grind sizes:
Improper grind size leads to uneven extraction, which means some grounds are over-extracted while others are under-extracted. Calibration ensures that your grinder produces a uniform particle size suited to your brewing method.
Before jumping into the calibration process, it’s important to know which type of grinder you’re working with.
Blade grinders don’t actually “grind” coffee; they chop it using spinning blades. Unfortunately, they produce inconsistent grind sizes and are not adjustable in the traditional sense. Calibration isn’t applicable here, and for that reason, they’re not recommended for anyone serious about coffee.
Burr grinders use two abrasive surfaces to crush coffee beans to a uniform size. These are the gold standard for grinding coffee and can be calibrated for precise control.
Regardless of the model, the core principles of calibration apply to both.
You don’t need to calibrate every day, but you should do it:
Think of calibration as resetting your grinder to a reliable baseline.
Start by selecting a brew method and noting the ideal grind size. Use a grind chart or visual reference to understand what the grind should look like for that method. For example:
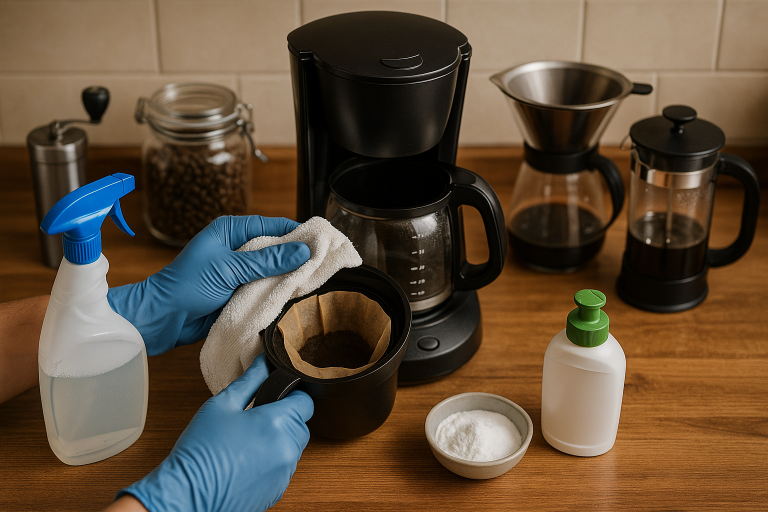
Before calibration, ensure that your grinder is free from old grounds and oils. Cleaning removes debris that may skew grind results. Use a grinder brush or vacuum and, if needed, a cleaning tablet compatible with your model.
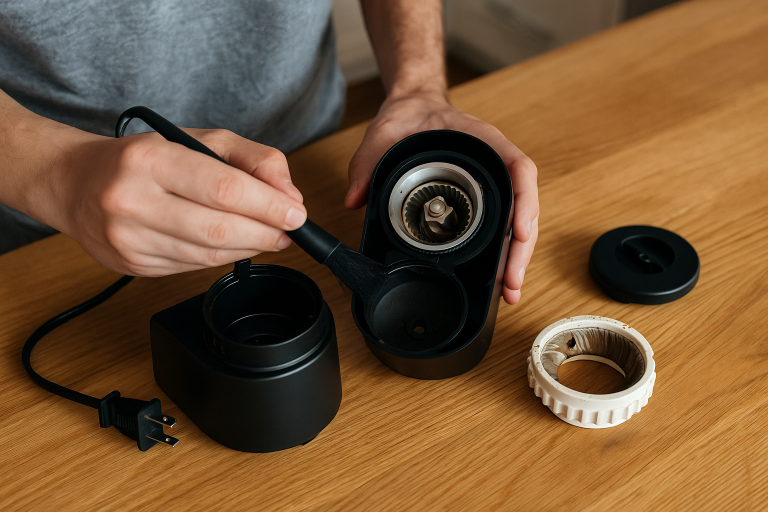
Refer to your grinder’s manual to understand how its adjustment mechanism works. For most burr grinders:
Electric grinders usually feature a numbered dial, while manual ones use clicks. Make minor adjustments—one step at a time—and test.
Grind a small amount of coffee and inspect it visually and tactilely. You can use a grind sieve (coffee sifter) or simply spread it on a white paper to assess uniformity. Inconsistent grinds may show large boulders and fine dust together, which signals a need for further calibration.
Ultimately, calibration isn’t just about appearance—it’s about flavor. Brew a cup and evaluate the taste. If it’s sour, your grind may be too coarse (under-extracted). If it’s bitter, it’s likely too fine (over-extracted). Make micro-adjustments and taste again.
While not all tools are necessary, having even one or two can dramatically improve your calibration process.
Grind size is especially sensitive with espresso, so calibration must be precise. A difference of one micro-step on your grinder could ruin a shot. Calibrate using both grind and dose. Aim for 25-30 seconds of extraction from a double shot using 18-20g of coffee.
Grind consistency is vital for pour-over methods. Uneven grinds disrupt flow and cause channeling. Once calibrated, make sure your pouring technique is consistent to avoid blaming your grinder for issues caused by uneven water distribution.
Since French press uses a coarse grind, calibration is less finicky but still important. Too fine, and you’ll get sediment in your cup; too coarse, and extraction will be weak. After grinding, always stir and steep properly to optimize your results.
Many grinders suffer from retention—leftover grounds stuck inside the burr chamber. Retention can throw off your calibration because what you’re grinding isn’t what ends up in your brew basket. Some pro tips to reduce retention include:
Coffee sifters separate particles by size, offering extreme precision. While not essential, they can help perfectionists dial in better results by identifying inconsistencies. If you’re chasing competition-level coffee or simply love nerding out, it’s worth exploring.
Even perfectly calibrated grinders become unreliable once burrs wear out. Most burrs last between 500 to 1500 pounds of coffee, depending on material and usage. Signs that it’s time to replace burrs include:
Replacing your burrs is like giving your grinder a fresh pair of shoes—essential for performance.
Lighter roasts are denser and may require a finer grind, while darker roasts tend to grind more easily and require a coarser setting. Always recalibrate when switching roast types, especially from light to dark or vice versa.
Calibrating your coffee grinder isn’t a one-time task—it’s an ongoing part of coffee brewing excellence. With practice, it becomes second nature. Treat it as a ritual rather than a chore, and your daily coffee will reward you with clarity, balance, and depth.
Don’t let poor grind size sabotage your brew. Take time to learn your grinder, keep notes, and make calibration part of your coffee workflow. With a well-calibrated grinder, you’re one step closer to café-quality coffee at home.

Gabriel Rodrigues é especialista em finanças pessoais e escritor, com ampla experiência em economia, planejamento financeiro e gestão de recursos. Apaixonado por ajudar as pessoas a alcançarem sua saúde financeira, ele explora temas variados, desde investimentos até estratégias de poupança. Quando não está escrevendo, você pode encontrá-lo estudando novas tendências financeiras e oferecendo consultoria para quem busca melhorar sua relação com o dinheiro.


